The Marvel Updraft Carburetor is one of the most unstable carbs ever designed; yet, it is also one of the most simple also. There is a fine example of this primitive carb in a 1922 Buick that I work on. This Buick I got running one year ago, and it ran great up until now. It has recently lost all torque and wont accelerate uphill. I removed the fuel pump and carburetor to have a better view of the carb, it was pretty dirty, so I removed it. With the carb off I could disassemble the individual components. The first bits to come off were the needles, I inspected the jets and found them to be blocked. After clearing a passage in the jets so fuel could be aerosolized; the float system also came apart. In there I found the cork float to be shot, luckily I had another carburetor that I could use a solid cork from. I then reinstalled the carburetor and the fuel pump. After making all of these changes I was certain the car would run better, but to my dismay, it didn’t. I will follow up this article and post photos later so stay tuned.
Month: July 2015
Cadillac 341B
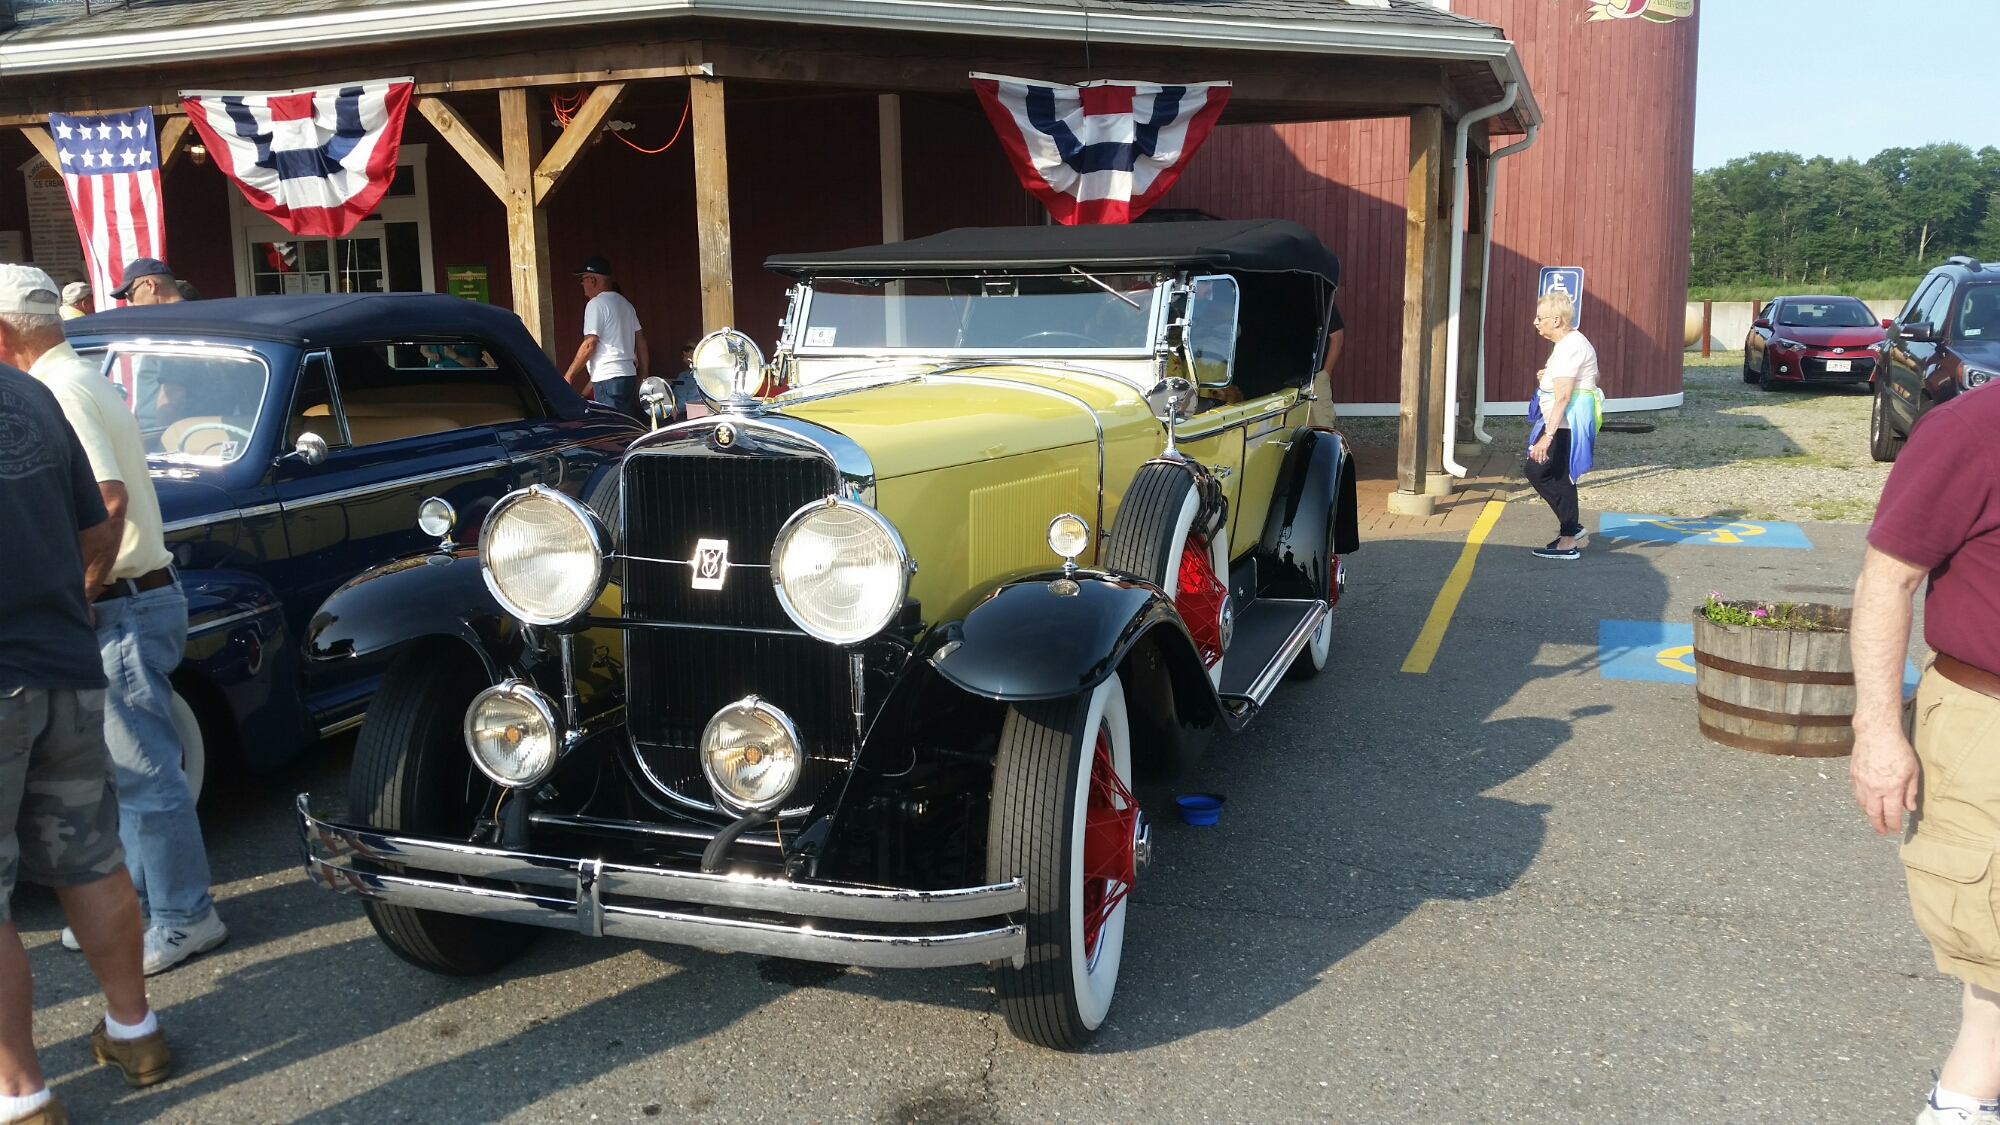
The car before your eyes is a 1929 Cadillac V-8 All-Weather Phaeton, model 341B. The car was originally shipped to South America, but now it is back in America. A total of 18,004 were built in this configuration, power is supplied by Cadillac ‘s notorious 341 cubic inch L-head V-8. This engine generates 95 Brake horsepower, ample power for 1929. With its full Classic rating and stunning paint, it is sure to be a highly-rated car for years to come.
Patching a Buick’s Fenders (pt. 2 Finishing)
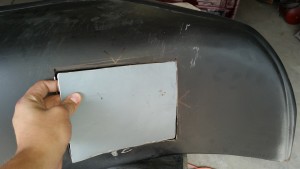
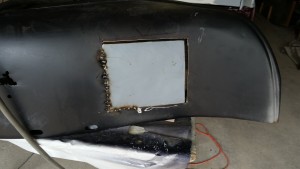
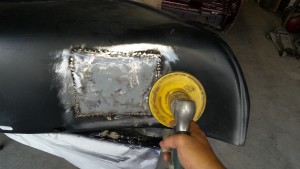
The next step to patching the fenders is cutting and welding them into place. First I start by attaching them with vise grips to the part of the original that is to be patched. Then I cut 1/4″ into the patch that is clamped on while taking the original metal off with it. The first side is then beat into place with a hammer and dolly. After I determine it is flush I weld it in place and repeat this process for the remaining sides. After the panel is welded in I grind down the weld to create a flush surface. After grinding I dolly it all flush creating a surface that matches the original. Be sure to check back as the restoration progresses, and happy 4th of July. 


